
The Reservation Portal gives team members, contractors or other approved visitors a public page where they can check availability and request a vehicle without access to the main Track My Ride application. Administrators control what visitors can see and approve or decline every request.
The normal workflow is:
- Configure and enable the portal.
- Share its unique link with approved requesters.
- Requesters check availability and submit requests.
- An administrator approves or declines each request.
- Track My Ride emails the decision when the requester supplied an email address.
Track My Ride records portal security and booking activity, including access attempts, configuration status changes, submitted requests, decisions, cancellations and regenerated links.
Before you start
You need a Fleet Metrics plan and a top-level account. If Vehicles > Reservation Portal is missing, check both requirements before changing other settings.
Create the vehicles that visitors may request. Create the people who should appear as drivers unless visitors can use All People. Decide who will review requests and how quickly they should respond.
Portal dates and times use the organisation's local time. State the timezone in the visitor message when requesters may be elsewhere. Treat the generated portal URL and access code as private access information. Share the code separately from the link when practical.
Steps
Enable and configure the portal
- Open Vehicles > Reservation Portal. A new portal shows Disabled and an Enable & Configure action.
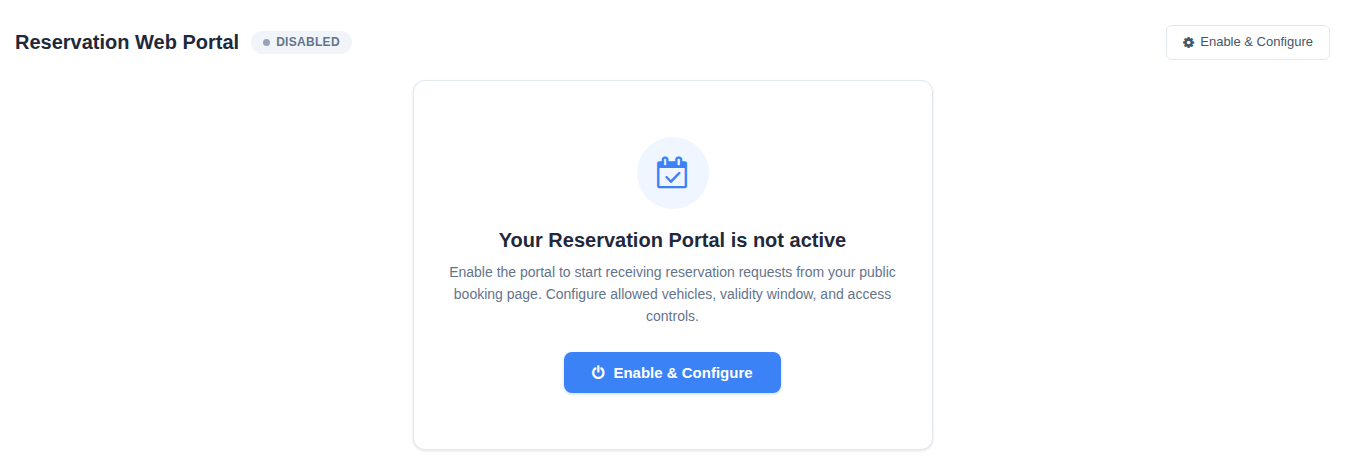
- Select Enable & Configure, or select Portal Settings when a portal already exists.
- Turn on Portal Enabled.
- Under Resources, choose the vehicles visitors may request and the people they may select as drivers. Use All Vehicles or All People only when every current and future vehicle or person should be available. Deselect the All option before choosing individual records; hold Ctrl on Windows or Linux, or Command on macOS, to select several records.
- Optional: turn on Require Access Code and enter at least four characters. Existing saved codes remain masked. Repeated incorrect entries temporarily lock access from that visitor's connection, so distribute the code carefully.
- Optional: turn on Validity Window, then set a From and To date and time. Outside this period visitors see that the portal is unavailable. Leave it off for indefinite access.
- Add a Custom Message of up to 1,000 characters. Include local timezone, booking rules, expected response time and a contact for urgent changes.
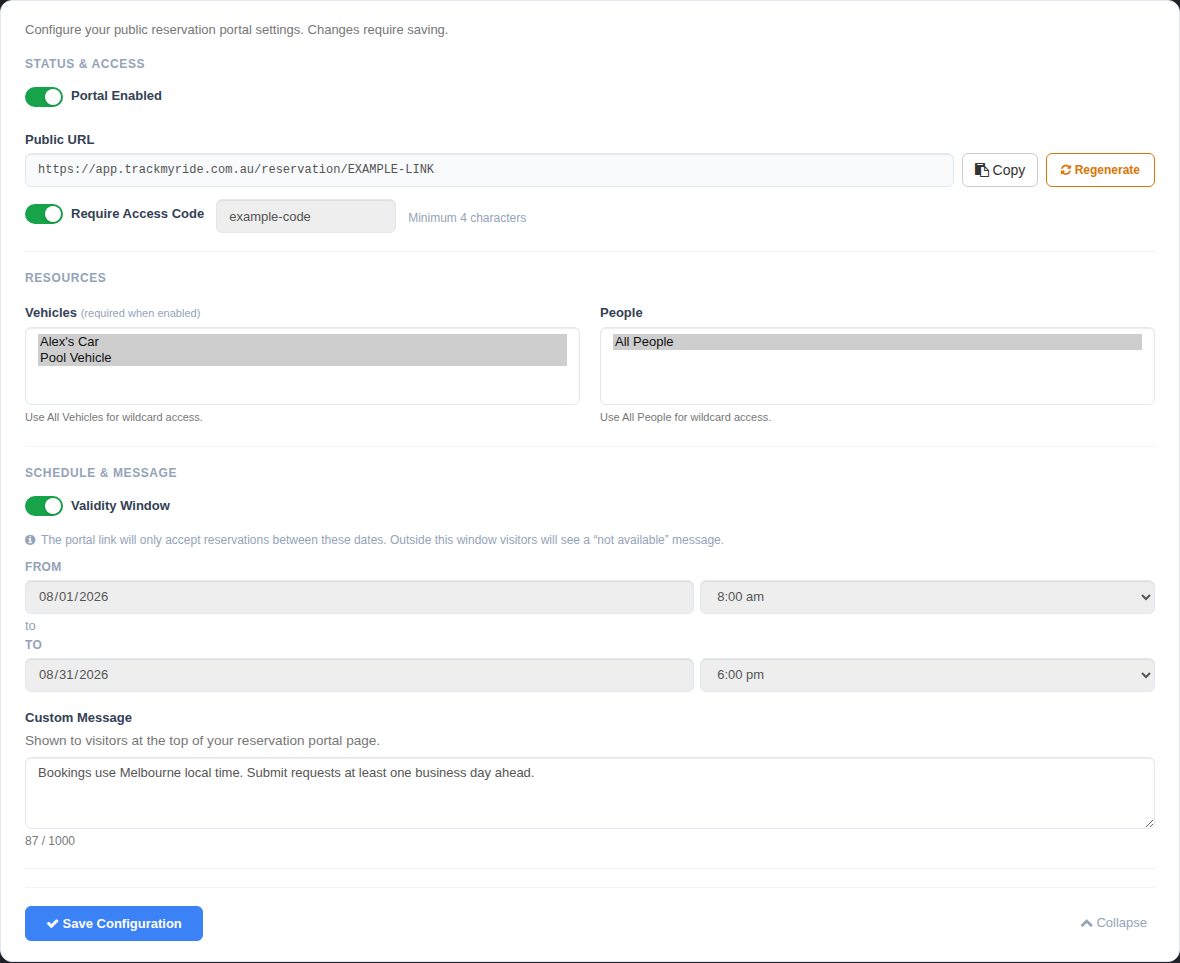
- Select Save Configuration. On first enablement, Track My Ride creates the public URL and confirms that the portal is live.
- Select Copy beside Public URL, then send the URL to an authorised test user. Send the access code separately when one is enabled.
- Ask the test user to check availability and submit a request. Confirm it appears in the dashboard before sharing the link more widely.
Use a validity window for a temporary project, event or seasonal booking period. Leave it disabled for an ongoing portal. The window controls when the public portal can be used; it does not delete existing approved reservations when the window closes.
Review individual requests
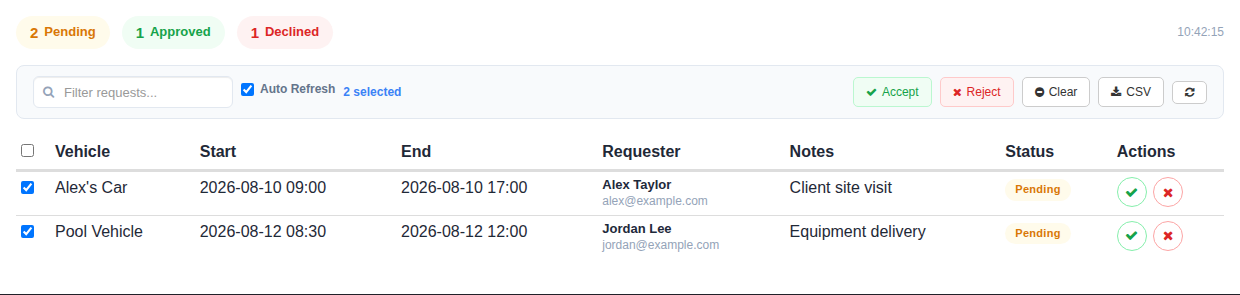
- In the requests dashboard, use the Pending, Approved and Declined counts and the filter to find the request. The filter matches visible request details such as vehicle, date, requester and notes.
- Select a sortable column heading to change the table order when needed.
- Turn on Auto Refresh while reviewing requests, or use the circular-arrow button to refresh manually. Check Last Refreshed to confirm how current the list is. Auto-refresh runs only while the Reservation Portal tab is active and the portal is enabled.
- Check the requested vehicle, local period, requester, email and notes. Requests beginning soon may be highlighted. Resolve any conflict before making a decision.
- Select the green checkmark to approve a pending request. Approval creates the reservation immediately.
- Select the red X to decline. Add an optional reason of up to 2,000 characters, then select Decline.
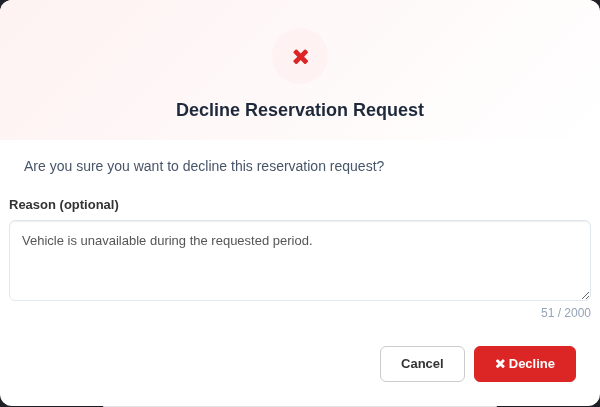
- If the requester supplied an email, Track My Ride can notify them of the decision. Otherwise contact them through your normal process.
Process or export several requests
- Select the checkboxes beside the requests, or use the heading checkbox to select all visible rows.
- Select Accept or Reject, then confirm the bulk action. Use Clear to remove the selection.
- Select CSV to export the currently visible requests. Filters affect which rows are visible, so check the table before exporting.
Regenerate or disable public access
- Regenerate only when the current URL reached the wrong audience or may no longer be private. Open Portal Settings, select Regenerate, read the warning and confirm.
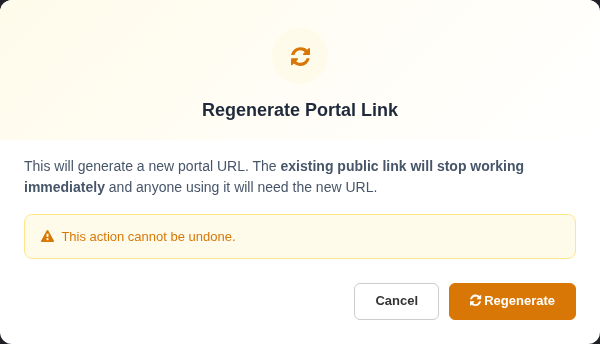
- Regeneration creates a new URL immediately and invalidates the old URL and existing public sessions. This cannot be undone. Distribute the new link, noting that existing approved reservations remain unchanged.
- To stop new public requests without changing the URL, open Portal Settings, turn off Portal Enabled and save. Visitors then see the portal as unavailable.
- Re-enabling restores the saved configuration. Disabling does not remove approved reservations.
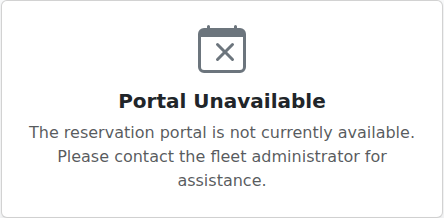
Before regenerating or disabling access, tell active users what is changing and when. Include the validity dates and local timezone whenever you distribute the portal link.
What happens next
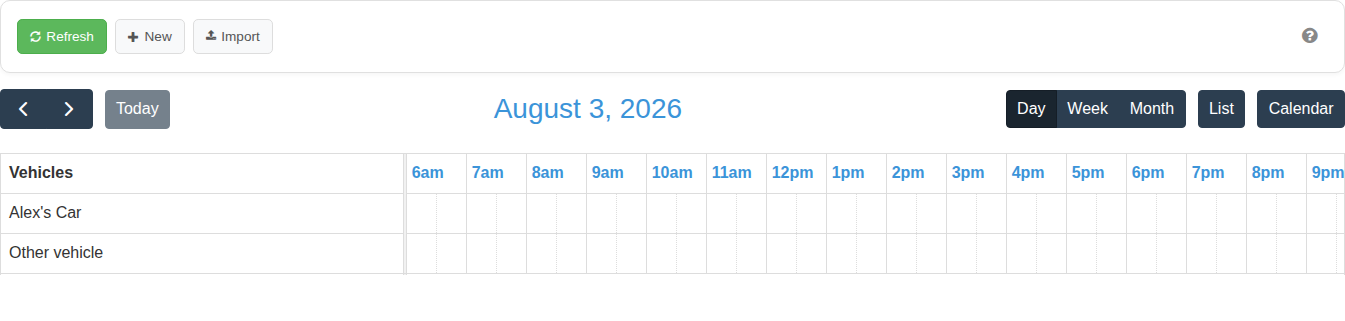
Approved requests appear with other bookings in Vehicles > Reservations. Declined requests remain available in the portal dashboard for review, and requester-cancelled requests do not reserve the vehicle.
A disabled or out-of-window portal stops accepting new requests. Existing reservations still need to be managed according to your normal booking process.
Troubleshooting
- The tab is missing: Confirm this is a top-level account on Fleet Metrics. Sub-accounts cannot manage the public portal.
- The settings do not save: Check highlighted fields. When enabled, the portal needs an allowed vehicle; validity start must be before end; and a new access code needs at least four characters.
- A visitor cannot open the portal: Check that the portal is enabled, the current date is within its validity dates, and the visitor has the complete URL and current access code.
- An access code stops working after repeated attempts: Incorrect entries can trigger a temporary lockout. Wait for the lockout period to end, confirm the saved code, then try again. Do not keep retrying during the lockout.
- A vehicle or person is missing: Confirm that it exists in Track My Ride and is included in the portal's allowed selections.
- Requests do not appear: Clear the filter, select refresh or enable Auto Refresh, and confirm the visitor submitted through the current enabled portal.
- A decision fails: Refresh the table. Another administrator may already have decided the request, or the network request may have failed.
- Regenerate is unavailable: Save the current configuration first, then reopen Portal Settings.
- A requester reports a time conflict: Check pending requests and existing reservations for the same vehicle and period. Ask the requester to choose another available period rather than approving an overlap outside the normal reservation workflow.
- An approved request is wrong: Manage the resulting reservation from Vehicles > Reservations and notify the requester according to your organisation's process.
- The URL or code reached the wrong audience: Regenerate the access details, then send the replacements only to authorised visitors.