
A zone, sometimes called a geofence, is a named area that you draw on the map. Track My Ride can compare new GPS updates with the zone boundary to create entry and exit alerts, produce Time in Zones and Zone Stocktake reports, and classify journeys as business or private.
Before you start
You need permission to use Map and edit zones. Use a desktop browser so you can place the boundary accurately.
Choose a clear name and decide which real-world area the zone should cover. If you use journey classification, check nearby zones before drawing. Overlapping zones with conflicting classifications can produce an unexpected result because the application checks them in a defined order and uses one classification.
Allow a practical buffer around the intended place. GPS positions can move near a boundary even while a vehicle is stationary, especially near buildings or covered parking. Use a satellite map style when property boundaries, access roads or building outlines make the edge easier to place.
Steps
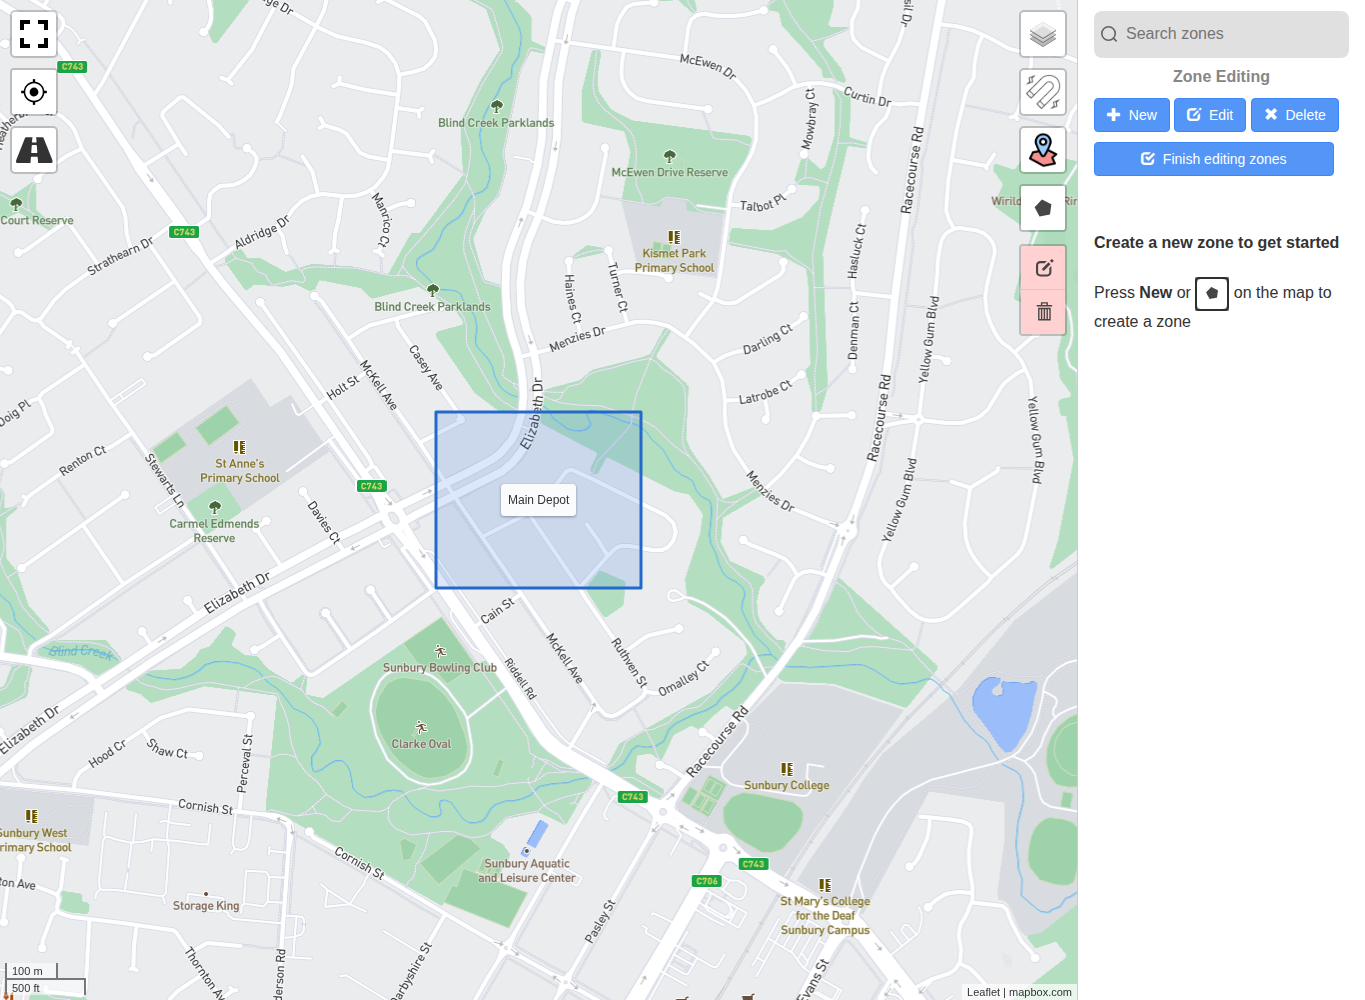
- Open Map and open the zone editing controls (Pin icon, top right).
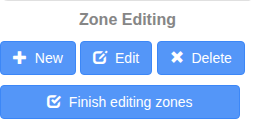
- Select New to enter drawing mode.
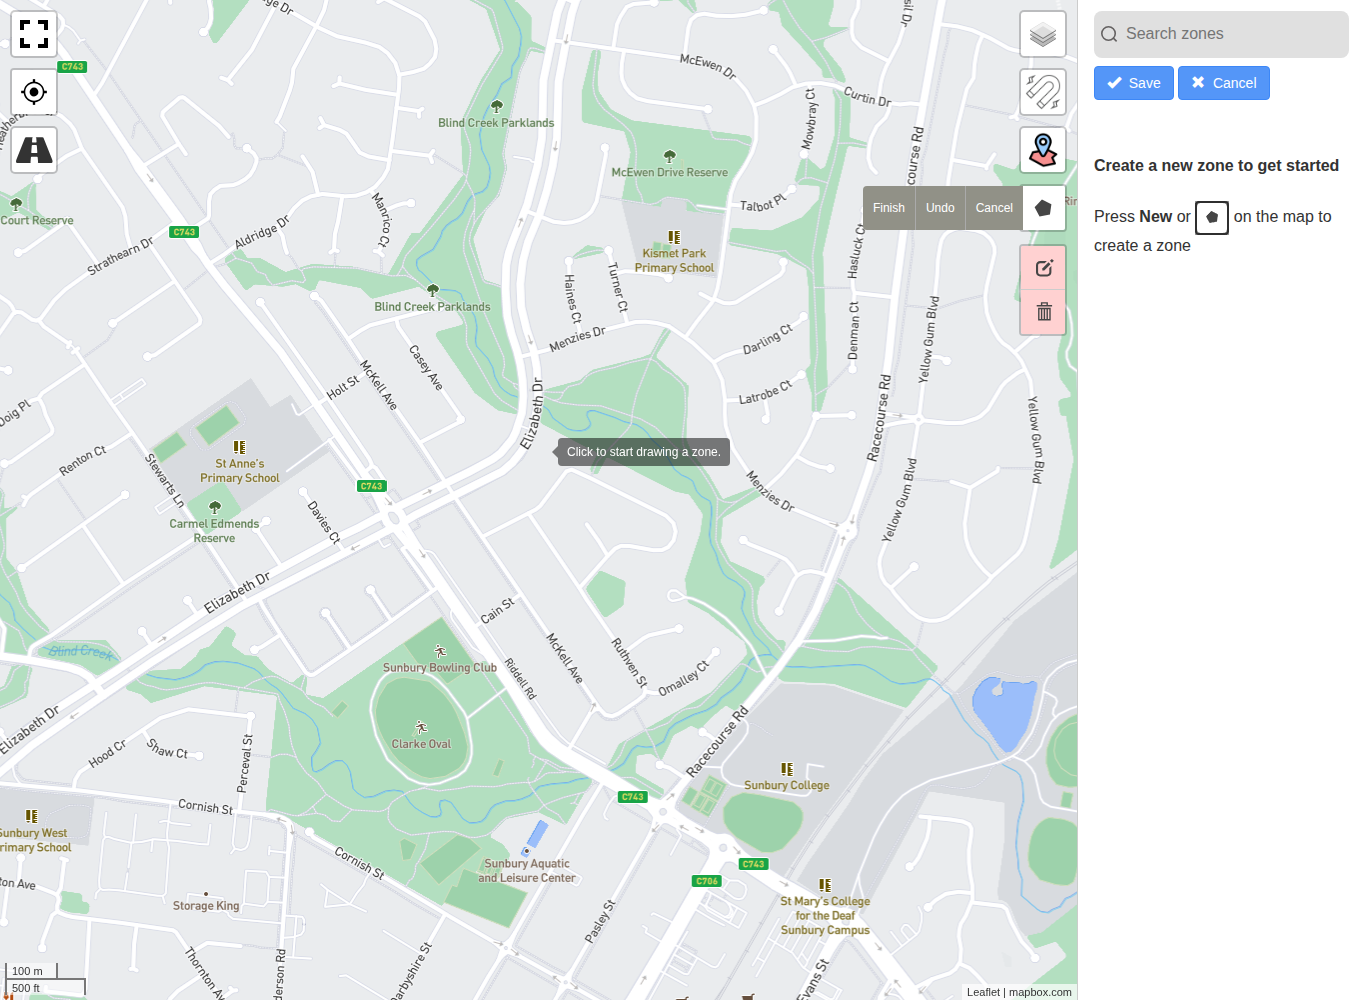
- Click around the map to place the corners of the zone polygon, then click the first point again to close the boundary. Closing the boundary creates the zone and opens its details.
- Enter a recognisable Name. Set Logbook to Business or Private only when the zone should affect journey classification; then choose the outline and fill colours.
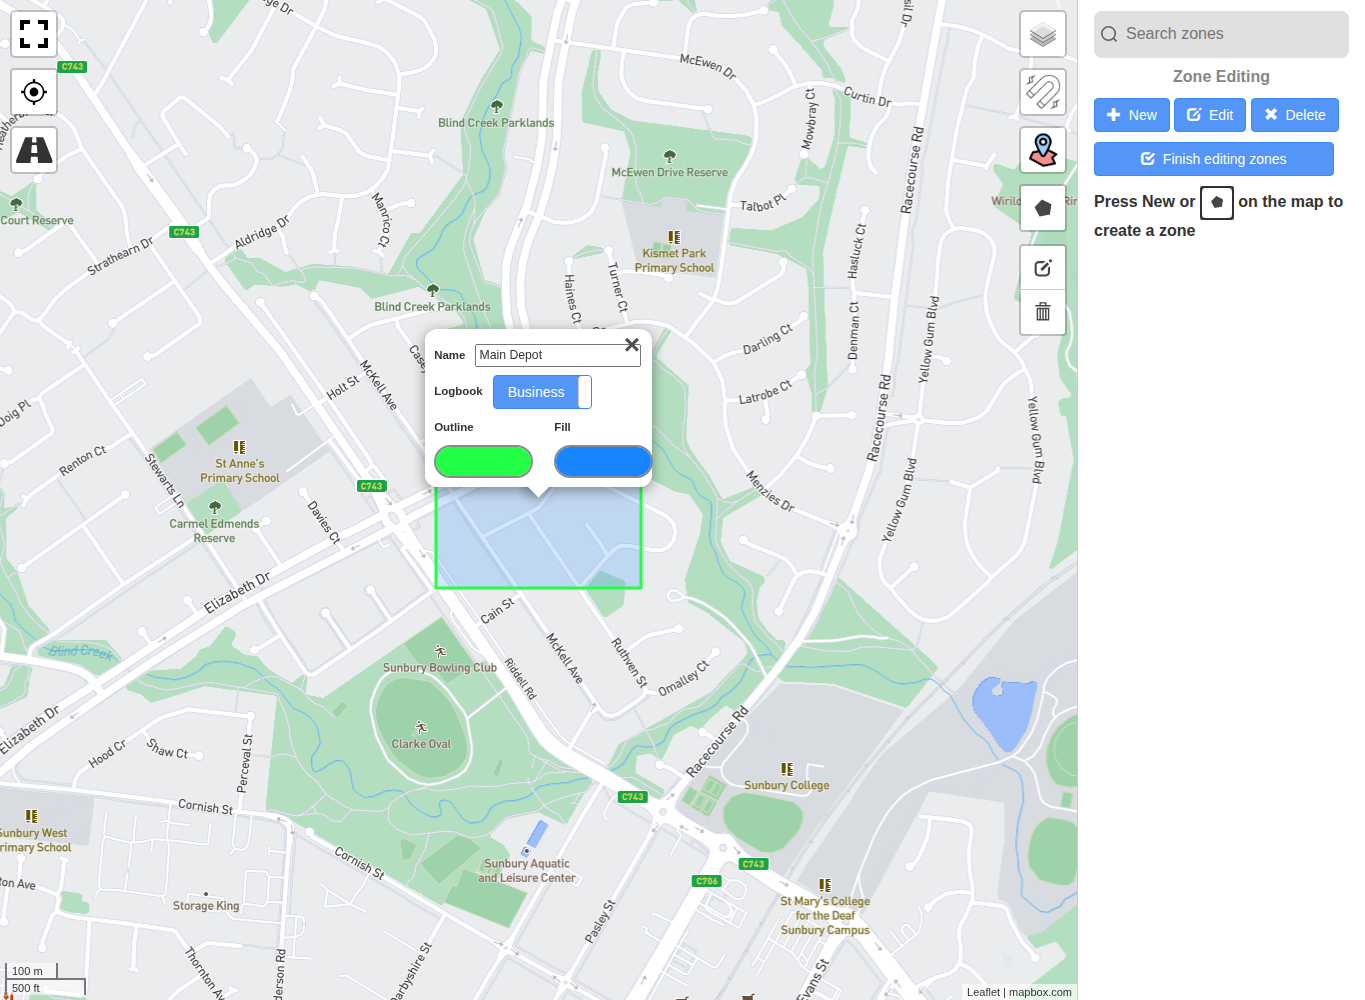
- Close the details pop-up after checking the name and classification. These changes save automatically.
- Keep the boundary clear of nearby properties or roads that should not count as part of the zone. Avoid tracing tightly around a building; include the normal parking and access area when those positions should count.
- Select Finish editing zones, then check the saved boundary and name on the map.
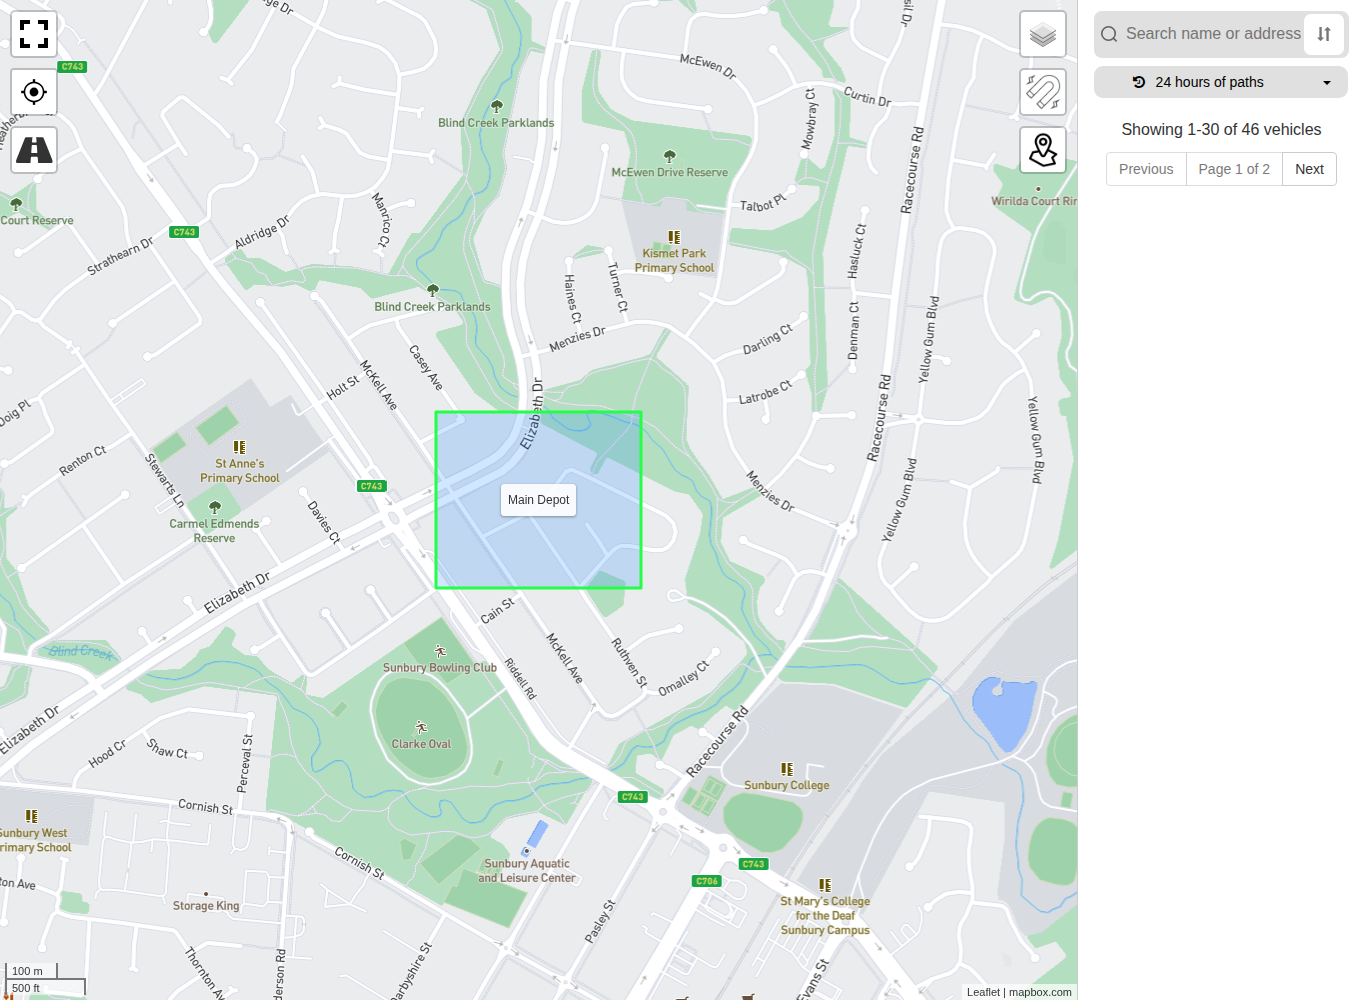
- To change a zone, select Edit, adjust its boundary, then select Save. Select the zone itself to change its name, classification or colours; those detail changes save automatically.
- Before deleting a zone, review alerts, sub-account exclusions and journey-classification rules that use it. Select Delete, choose the correct zone and confirm. Deletion stops future GPS updates from being assessed against that zone, so dependent alerts and future automatic classifications may no longer work as intended.
- Select Finish editing zones when you have finished.
What happens next
New GPS updates can now be assessed against the zone for compatible alerts, reports and journey classification. To keep zone boundaries visible on Map, enable Zones layer under Settings > Application Settings.
For an exclusion zone, test it from the restricted sub-account or shared-map link. A zone can be drawn correctly but still expose a location when the wrong exclusion action is selected.
Troubleshooting
If the editing controls are unavailable, confirm that you have zone-editing permission. If a saved zone is not visible, enable Zones layer under Settings > Application Settings. If alerts or classifications occur at the wrong location, compare several recorded vehicle positions with the boundary, allow more buffer where appropriate and check for overlapping zones before redrawing it.